Dometic Slide Out Awning Tension
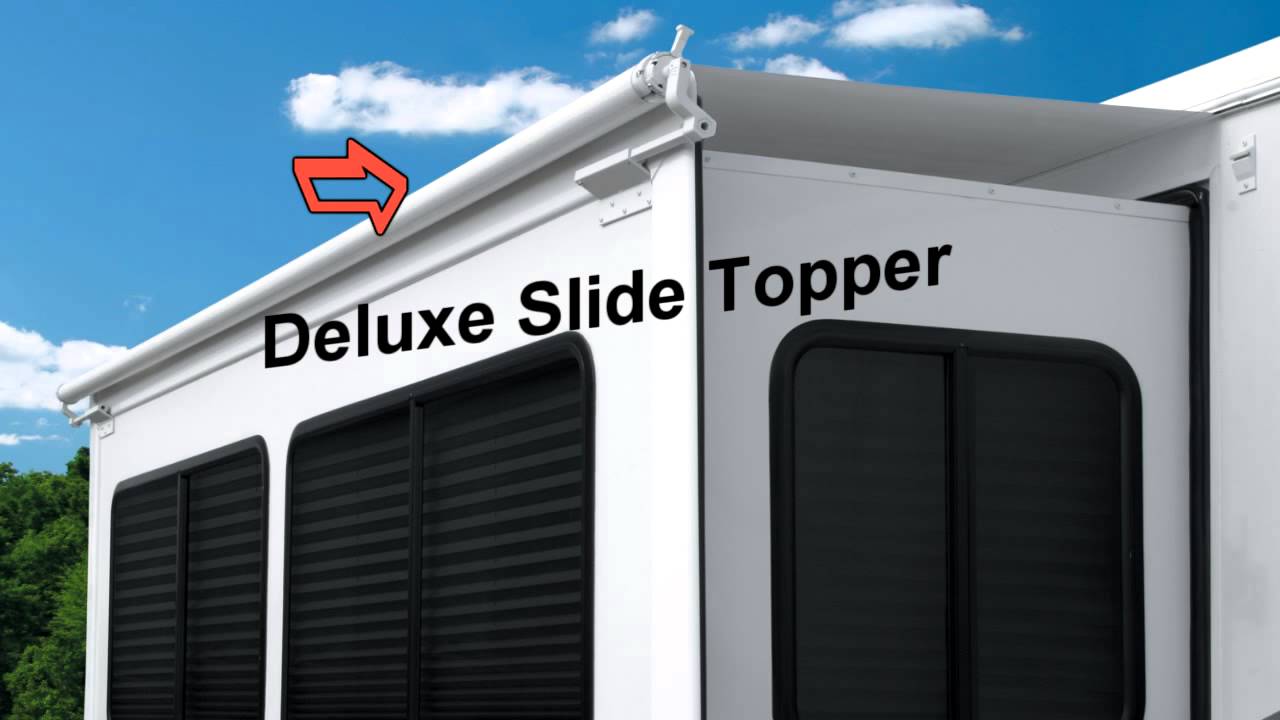
Dometic Slide Topper Youtube

Top This Install New Dometic Slide Topper Material Motorhome Magazine

Dometic Optima Tension Rafter System Tension Rafter

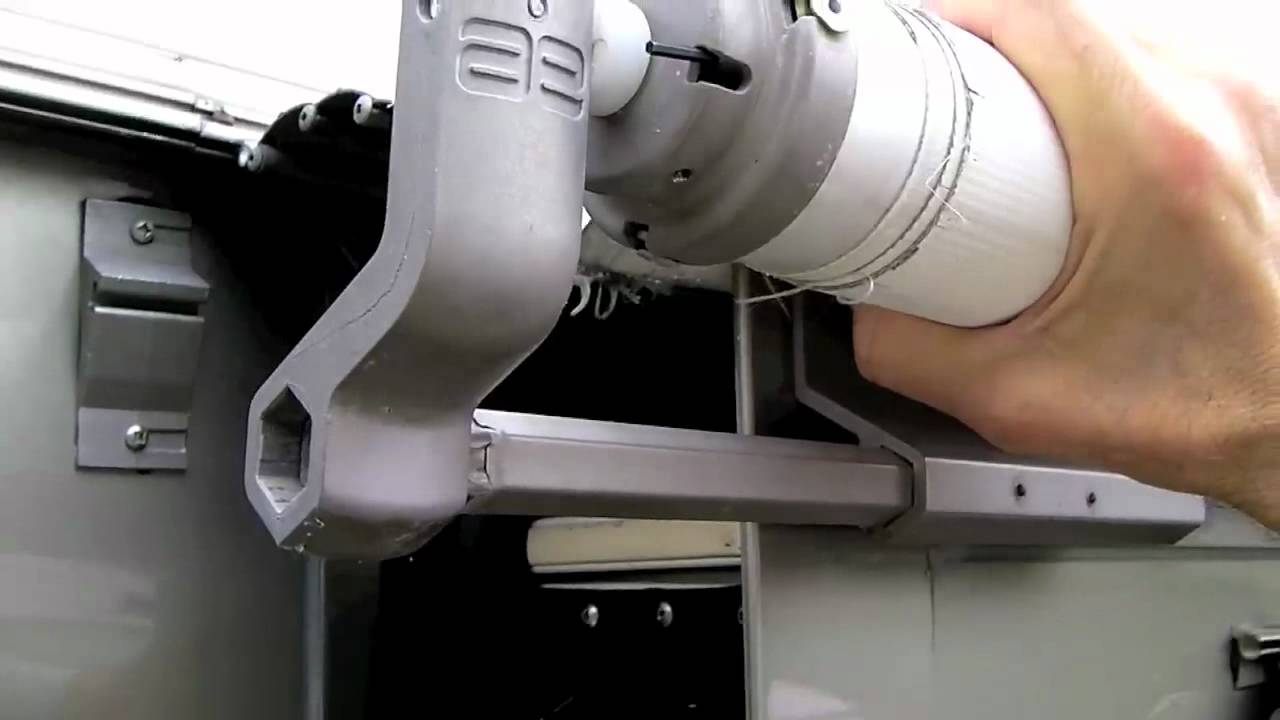
Replacing An A E Rv Slide Topper Standard Method Youtube
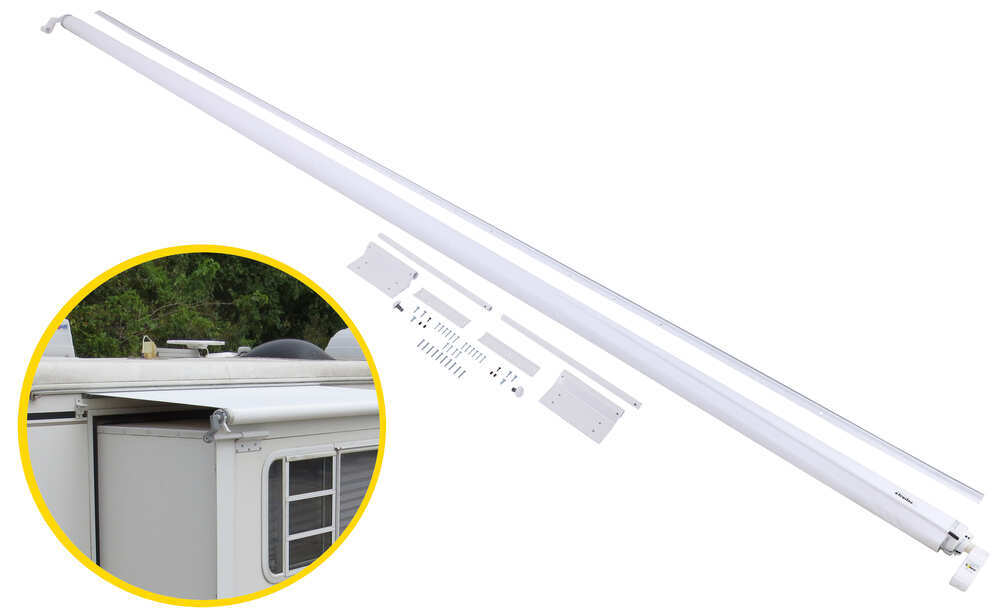
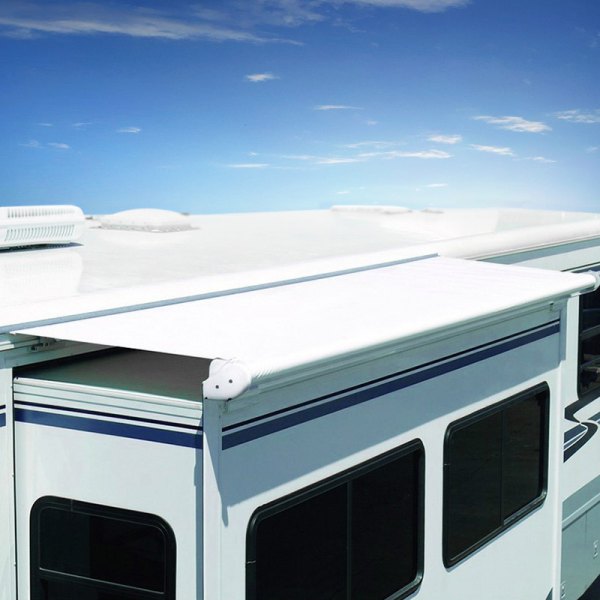
Solera Rv Slide Out Awning 13 1 Wide 48 Projection White Lippert Components Rv Awnings Lcv000163300
How To Replace An Rv Slide Topper Thervgeeks
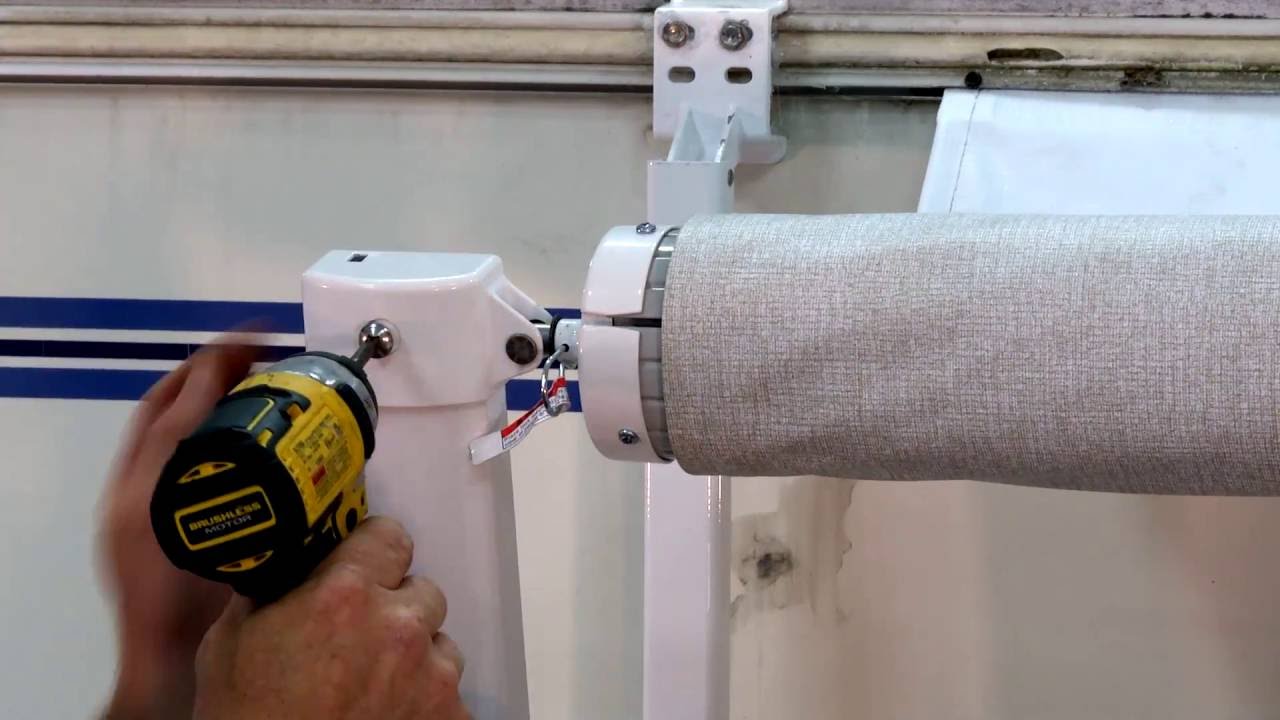
Now that you are going to re tension the spring it s time to insert it back after you have reinstalled the torsion assembly.
Dometic slide out awning tension.

Top This Install New Dometic Slide Topper Material Trailer Life

Optima Tension Rafter System 930039 500x


How To Replace A Carefree Of Colorado Rv Slide Topper Model Sok Ii Youtube

8 Best Rv Slide Toppers Reviewed And Rated In 2020 Rv Web

Technical Slide Topper Support

Dometic A E 803 Sunchaser Awning Parts Breakdown

Dometic A E Awning Tension Rafter Bracket 3105037000 For Sale Online Ebay
Carefree Up15762jv Sok Iii Slide Out Rv Awning Camperid Com

Part Detail Carefree Of Colorado
What To Do When An Awning Won T Go In Rv Repair Club Q A

Slide Awning Tension Irv2 Forums
Solera Awning Replacing A Manual Awning Spring Assembly Youtube

Rv Doctor Rv Awning Canopy Replacement Rv Travel

Rv Awning Repair Re Tensioning The Spring Doityourself Com

Sagging Slideout Topper What S An Rver To Do Rv Travel
Solera Rv Slide Out Awning 12 7 Wide 48 Projection Black Lippert Components Rv Awnings Lcv000165061

Best Rv Slide Out Awnings In 2020 Top 5 Reviews With Comparison
Https Encrypted Tbn0 Gstatic Com Images Q Tbn 3aand9gct2wjv Z2yz8gsozocdzrdx 4j5hd7sgc2jyfdvuyo3snkzwfhi Usqp Cau

Dometic 9800018 401 Tall Slidetopper Awning Hardware Kit Awning Hardware Mounting Brackets

Solera Rv Slide Out Awning 5 1 Wide 48 Projection Black Lippert Components Rv Awnings Lcv000 Rv Black Hardware Awning

Carefree Lh1530042 Slide Out Rv Awning Camperid Com

Camco 42593 Rv Awning Stabilizer Kit With Tension Straps

Amazon Com Carefree Dg0716242 Awning Fabric Automotive
Source : pinterest.com
